1968 - 1982 Corvette: How-To: TPI for a C3: A couple things that worked well for me over the years
Estimated Reading Time: 5 Minutes1968 - 1982 Corvette: How-To: TPI for a C3: A couple things that worked well for me over the years
Submitted by: KANE
09-21-2008
Many folks have done the swap... I’m documenting some of the things that I have found that work well between the two TPI swaps I’ve done for C3s.
Fuel Pump Location-
Since I run sidepipes, I’m not worried about excessive heat from mufflers that can be transmitted behind the fenders. I have had great success mounting the fuel pump behind the rear wheel well adjacent to the fender along the frame by the tank. It offers easy access through the tail lights and changing pumps is quik since there is no reason to drop the tank.
Fuel Lines-
The fuel lines are really easy for the C3s with return lines. The 3/8s factory feed line remains the supply line. I’ve found that -6AN fittings and socketless hose from Aeroquip works well. It is easy to flare the lines along the frame next to the A-arm. The 11/16 line can be fitted with a -5AN fitting and then connected to -6AN by way of an adapter on both the rail and the frame.
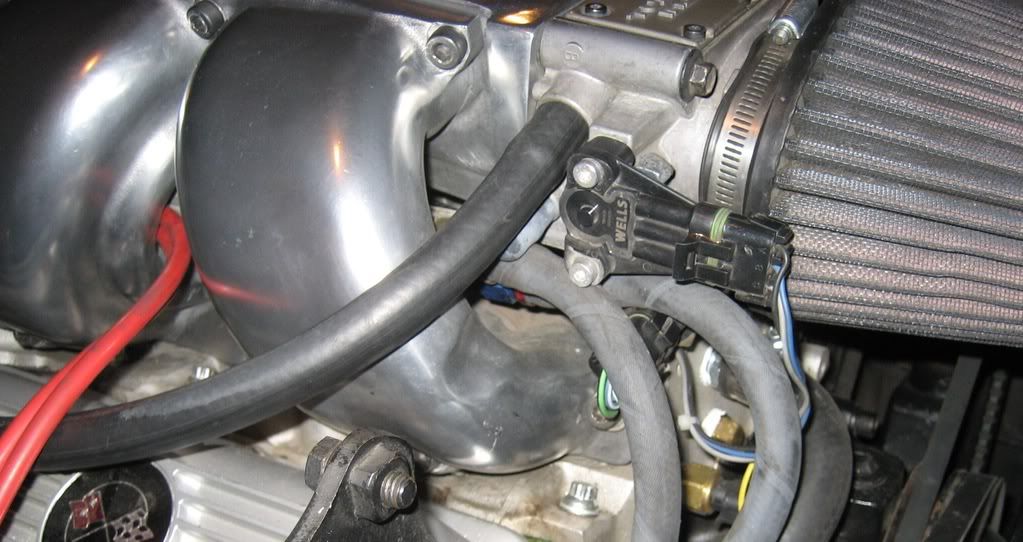
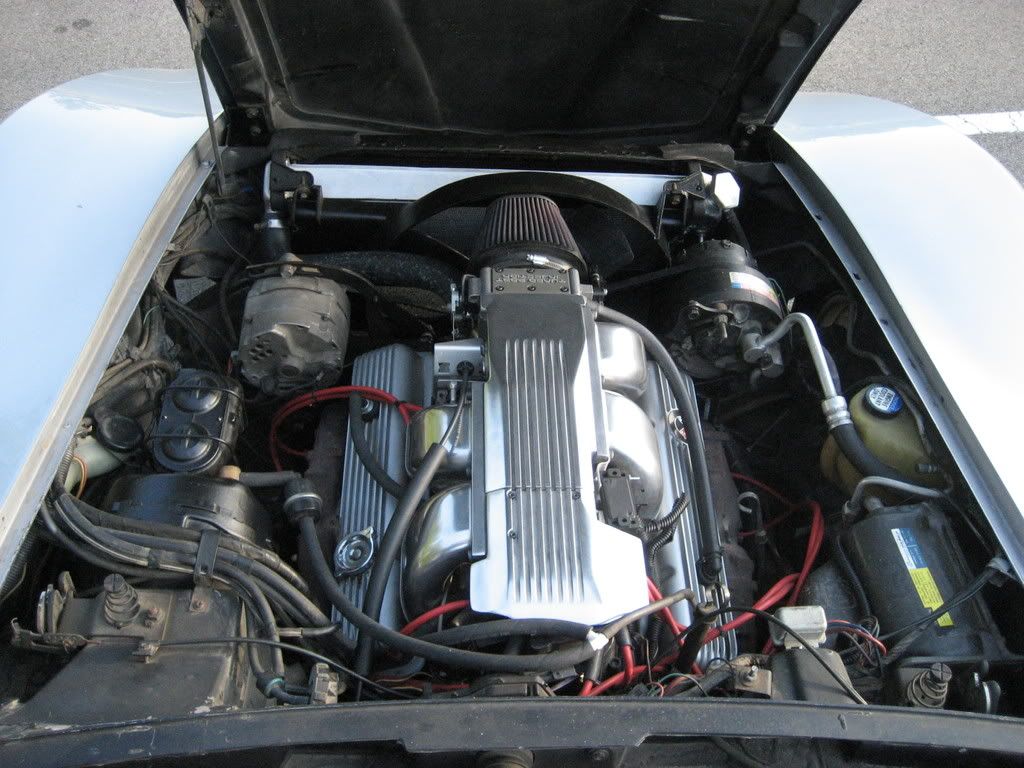
The socketless hose routes behind the A/C bracket and down to the frame. This picture shows the routing behind the A/C mounting brackets.
-6AN on the supply line and -5AN fittings on the return line. The locks for the injectors haven’t been installed for this photo- but rest assured they are on the car!
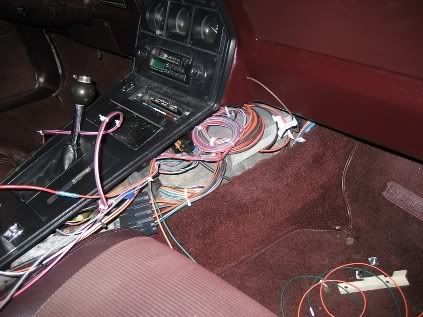
Wiring Harness-
The harness can be passed through the firewall by using the OEM grommet that carries the HVAC lines. No cutting the firewall with this method.

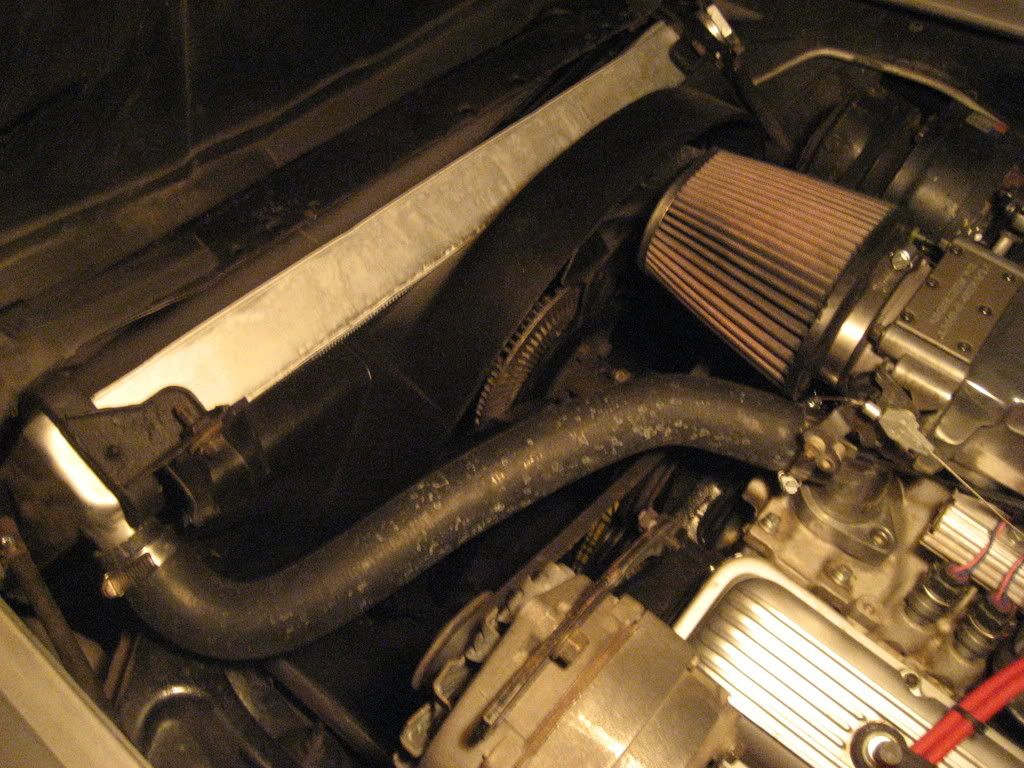
Radiator Hose & Inlet Housing-
I’ve seen a lot of folks use the original thermostat housing. The only problem is that its angle now brings the hose behind the radiator. The OEM TPI inlet requires an almost 90 degree bend on both ends of the hose. I’ve used both and found a 360 swivel housing works the best.
To get the radiator hose to the radiator, a mock up with paper towel tubes works well. Then, a trip to the parts store with the mock-up can be made to find a prefab hose with the right contours to match.
ECM Mounting-
There are couple places to mount the ECM. I chose under the radio because the access was easier (one screw removes the sideboard far enough to access the ECM).
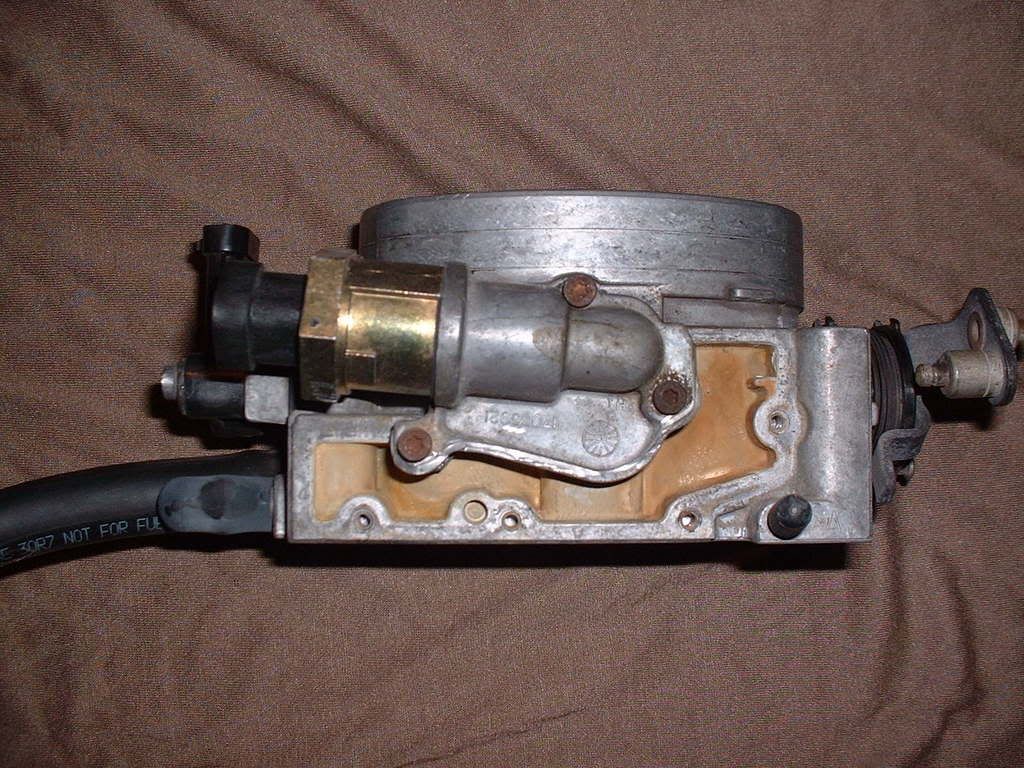
TB Coolant Bypass-
For most of us folks, the coolant passage isn’t necessary. The IAC portion is the only piece really critical to the part. A cut-off wheel and a grinder bit on a dremel makes quick work of the coolant passage. Leave three of the Allen screws so the IAC housing can be mounted.
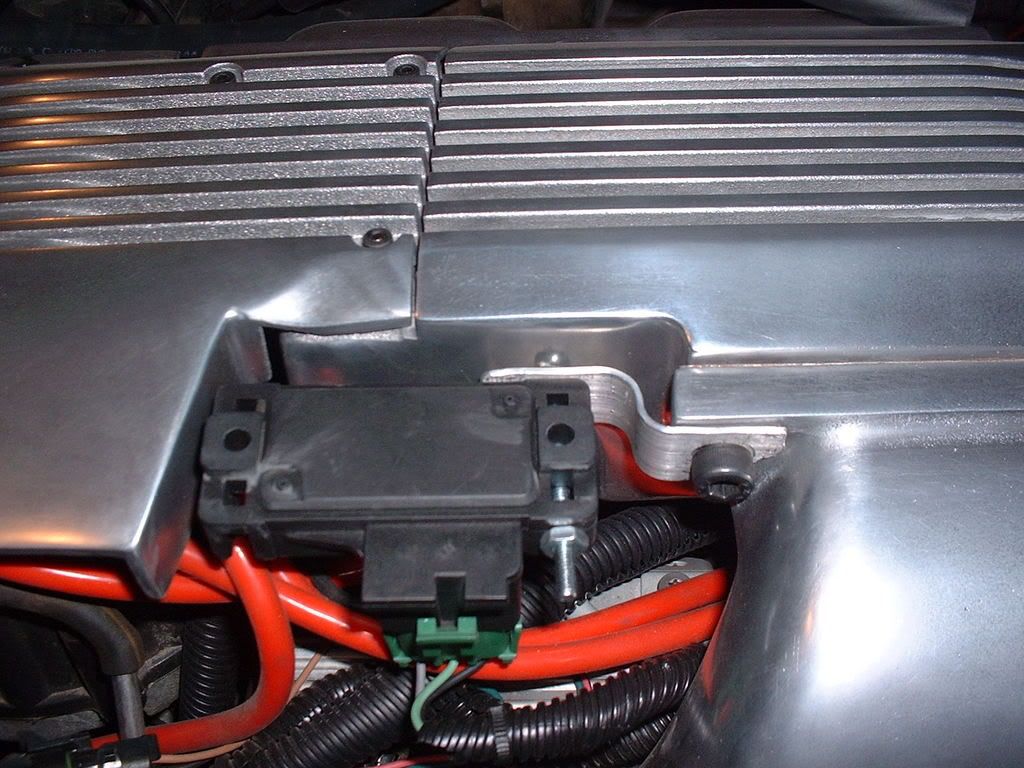
MAP Sensor Mount-
For those of us who decide to go with the 7730 ECM (speed-density MAP system), there isn’t a provision for the MAP sensor. A thin piece of aluminum can be used to create a mounting bracket and attach it to the runner.
Throttle Cable-
Lokar makes a nice cable but it is pricey. It isn’t necessary either. An easier route is to take an F-body cable and then remove the cable itself from the sleeve. Next, cut the sleeve to the right length for the path from the firewall to the linkage. Take the OEM cable out from the wall. Cut the cable and remove the sleeve from the socket that attaches to the firewall. Then, drill out the sleeve socket to accept the shortened TPI sleeve. Thread the cable back through the sleeve and use a cable stop on the back of the pedal with the OEM accelerator clip.
MIL Light-
I’ve used the battery light indicator on the dash. Once the OEM bulb is removed, the TPI’s MIL can be inserted into the bulb’s location. From the front, the MIL will flash though the low battery light. I did this on my first TPI swap.
Another approach is to use the steering column filler panel. I used that area and mounted the ALDL to one of the screws that holds the panel to the dash.
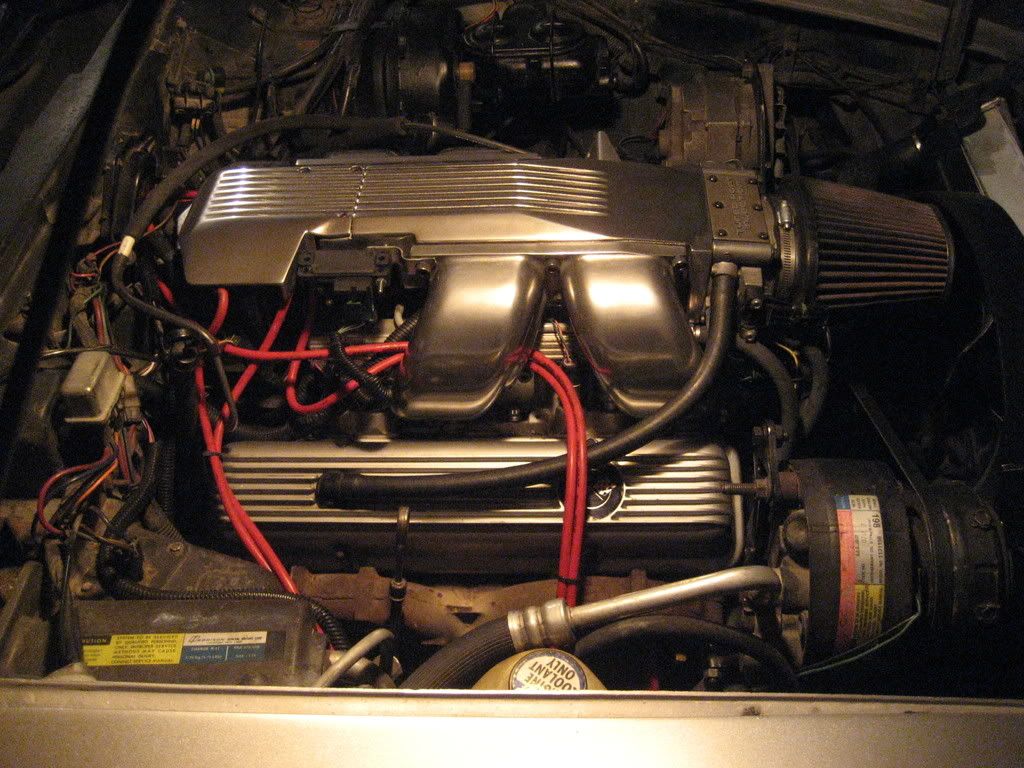
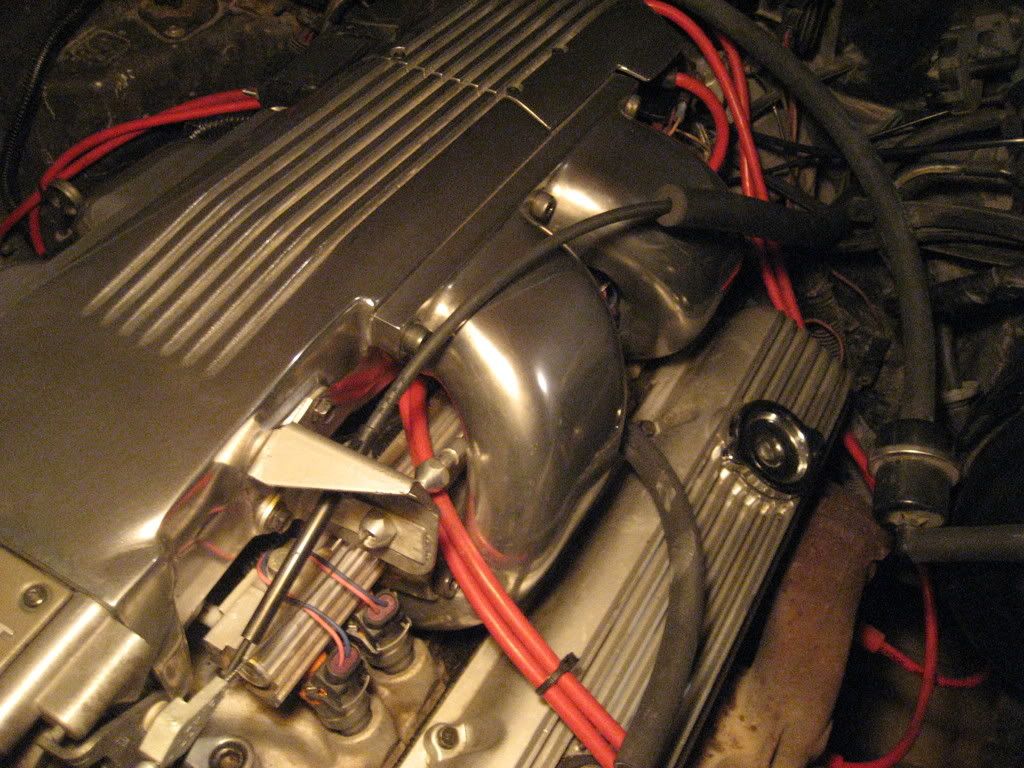
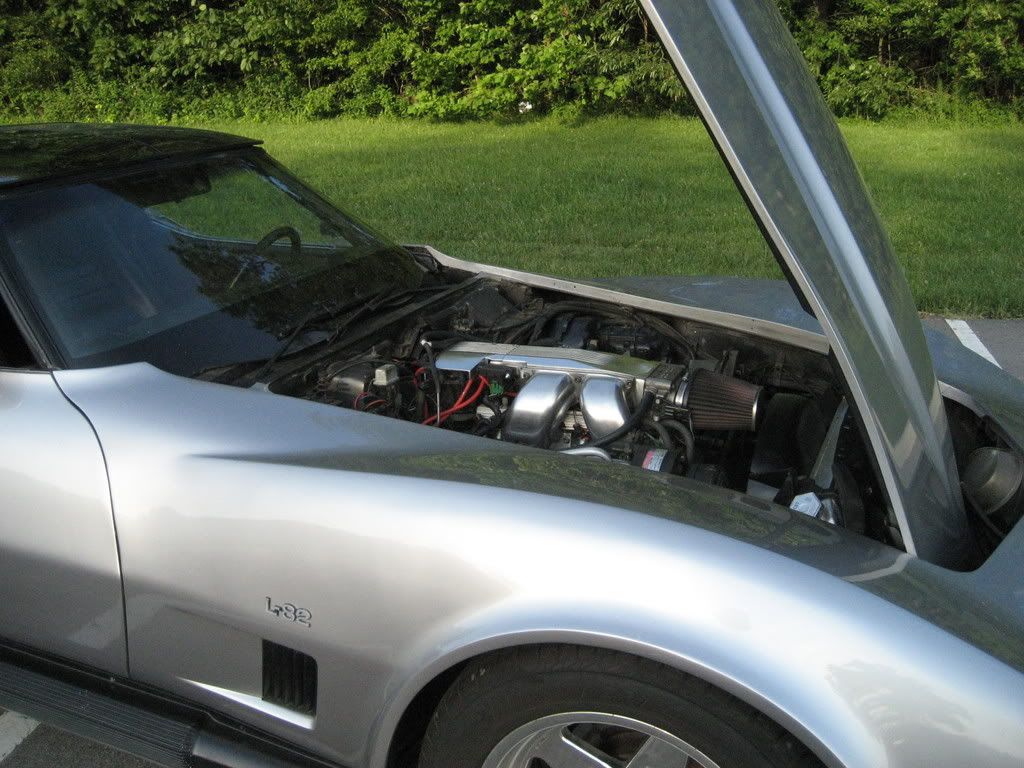
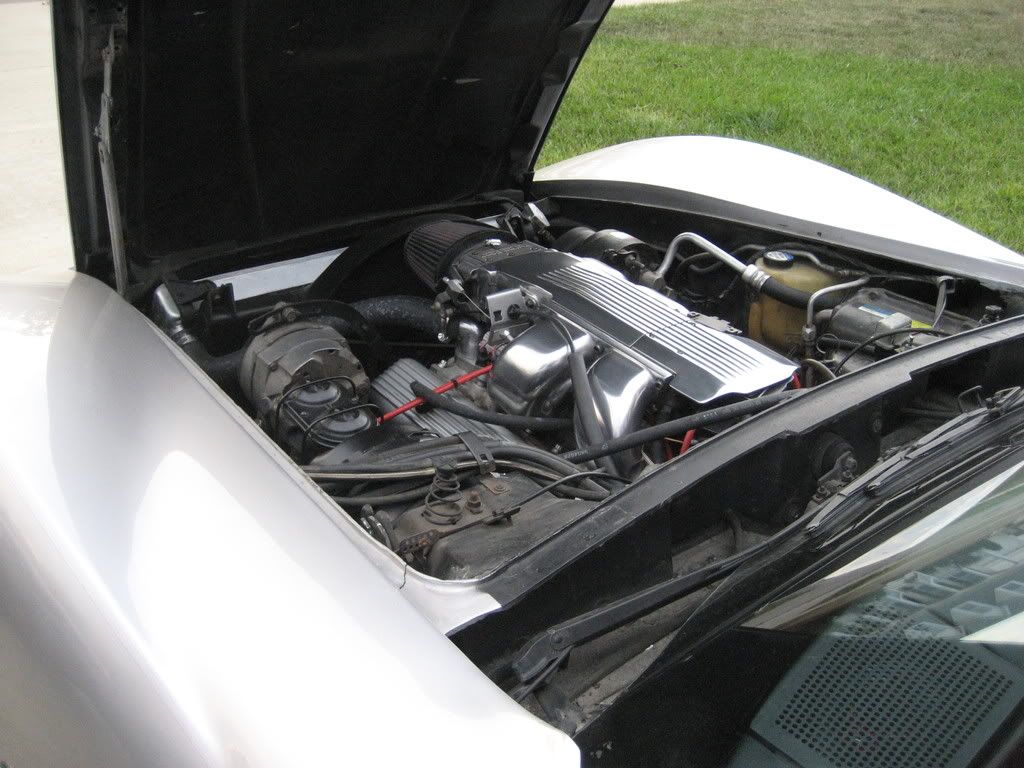
Final Install Pics-
Watch it run-
The temp is about 160 degrees and it is still idling a little above 1k rpm with the choke on. Base timing is 11 degrees BTDC and maxes out at 31 degrees full advance at 3k rpm. Injectors are 24lb and fuel pressure is set to 37 lbs on the rail. The TPS is set exactly to 5 volts at 600 rpm. The bypassed EGR and tuning still produces cleaner exhaust than the Q-jet ever could. To help out with closed loop, I’m running a three wire heated 02 sensor. 1.6 rockers give the L82 cam in the GMPP engine a little more lift. Its an effective combo for a low squeeze engine.
DISCLAIMER: This How-To article contains information from other Corvette owners and enthusiasts that are members of the Corvette Action Center forums. Any information used from this How-To section is used at your own risk. Although we do our best to screen and verify the information provided here, the Corvette Action Center is not responsible for any inaccuracy in this How-To section. Always consult your service manual and/or a qualified automotive service technician before conducting any type of automotive repairs or modifications on your own. For further information, please review our Legal Disclaimer.