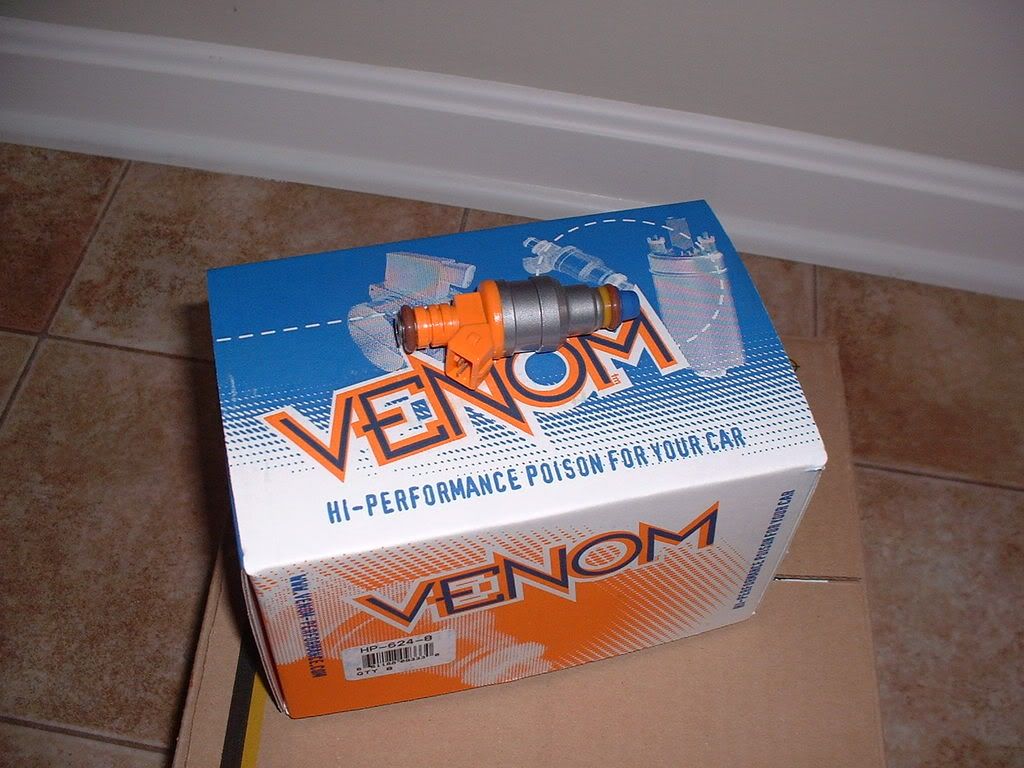
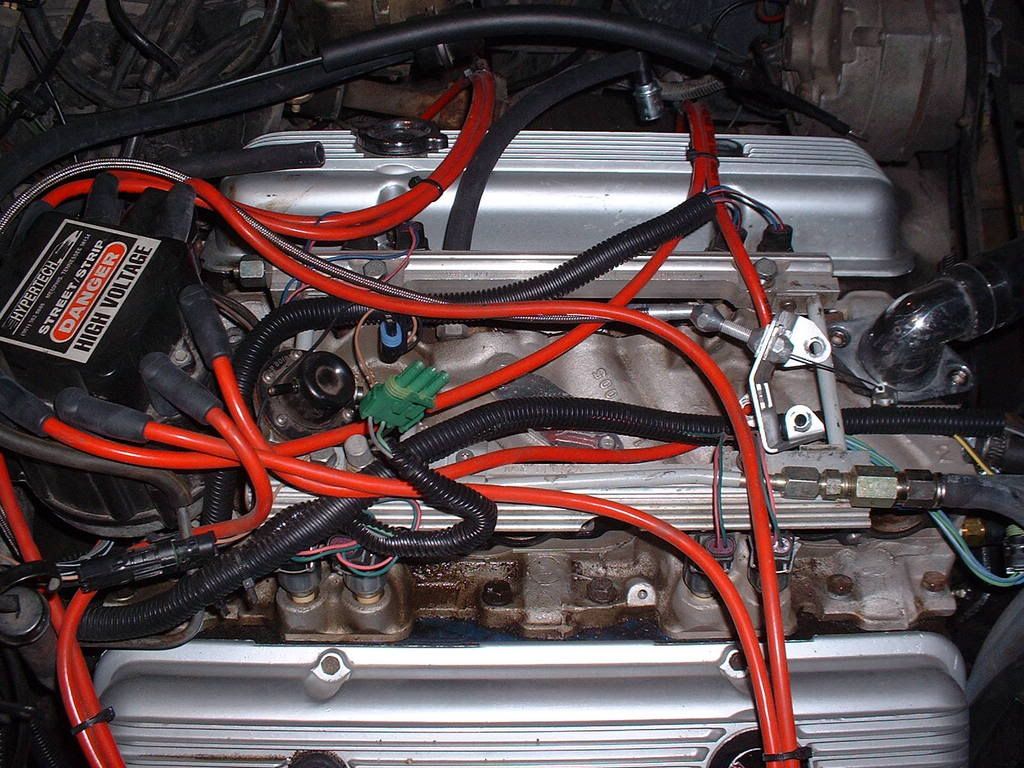
Here’s what I’m putting onto the fuel rail-
Bear in mind that your TPI may actually require the removal of more ancillary components than mine since my system is a custom swap.
However, the big picture is the same.
First, start removing the air ducting from the throttle body and then the throttle body itself. The four OEM bolts are 10mm sizes that anchor the throttle body to the plenum. The linkage bracket also uses 10mm bolts- so keep that socket and extension handy!
Before you pull off the throttle body, you’ll need to disconnect the TPS, IAC motor, all linkage, and any vacuum lines.
You can leave the distributor cover in place though.
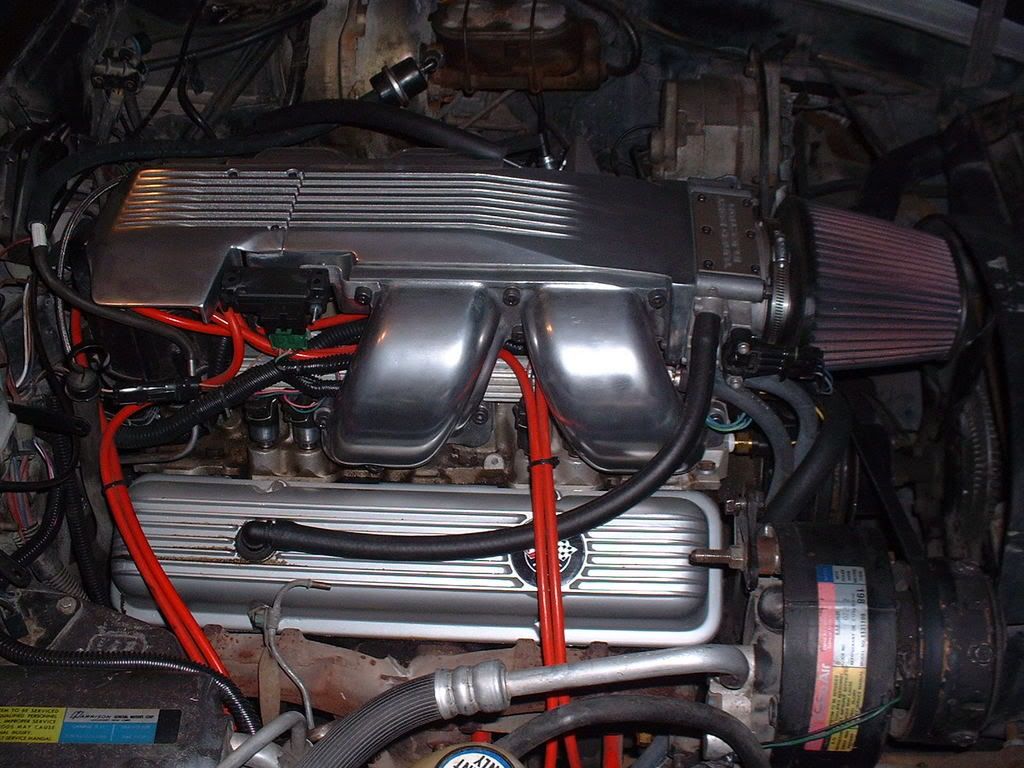
Next, remove the plenum. As the plenum comes up- you can disconnect the FPR, vacuum lines, and IAT sensor.
You’ll need to use a 15/16 allen if you have OEM bolts. I have SLP runners and I’m using the extra long straight allen that came with the runners.

You’ll want to use a 13mm socket on the loosen the four bolts that anchor the fuel rail down. You’ll need to make sure the rail is loose otherwise the runners won’t come out easily. A loose fuel rail will facilitate rotating the runners out from under the rail. Remember, the runners must be rotated toward the center of the intake to get them to come out.
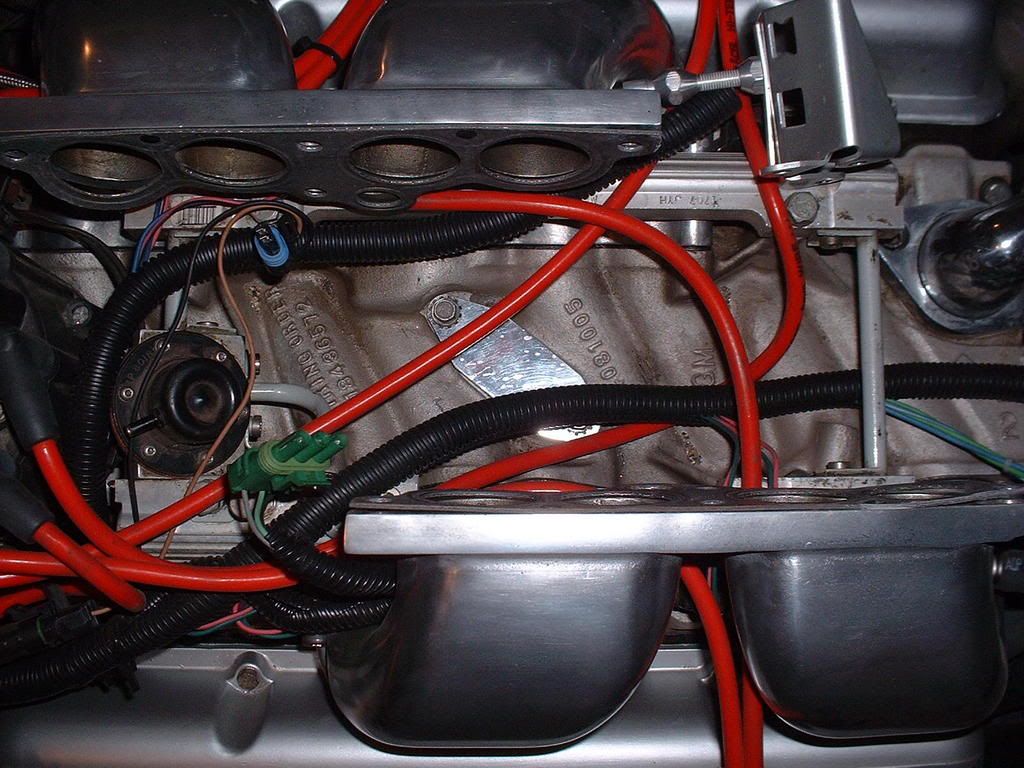
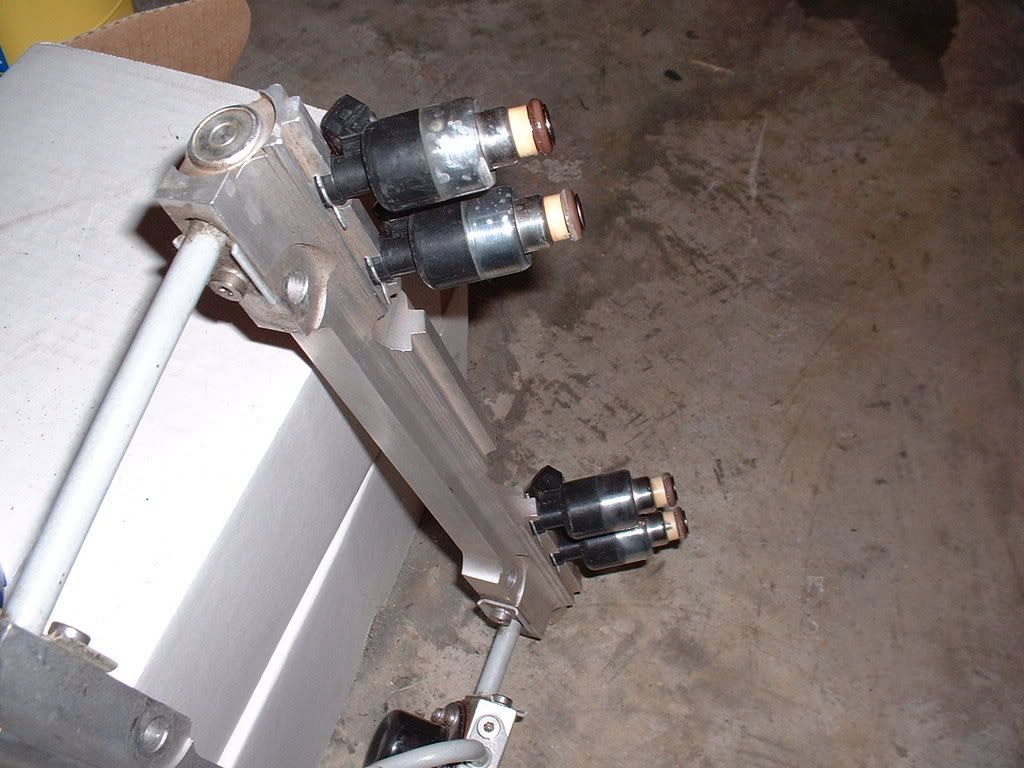
Next, you’ll remove the runners themselves...
Once the runners are off, you will have ample room to disconnect the fuel lines. You’ll want to relieve the pressure from the rail at the schrader valve first!
I have custom lines and I must wait to this point to disconnect them. OEM lines may be disconnected before hand- but you can wait until this point if you just want more room.
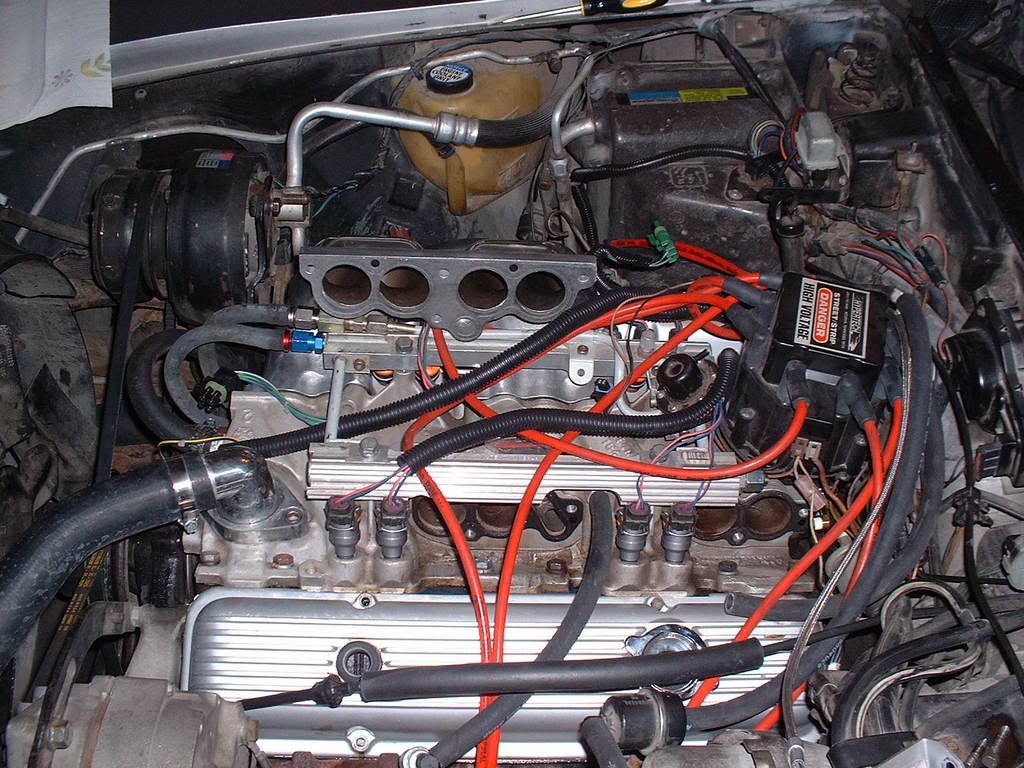
Once the runners are removed, disconnect the harness from the injectors, remove the 13mm bolts and carefully pull off the fuel rail.
If you are replacing leaking fuel injectors, this is what you’re likely to see-
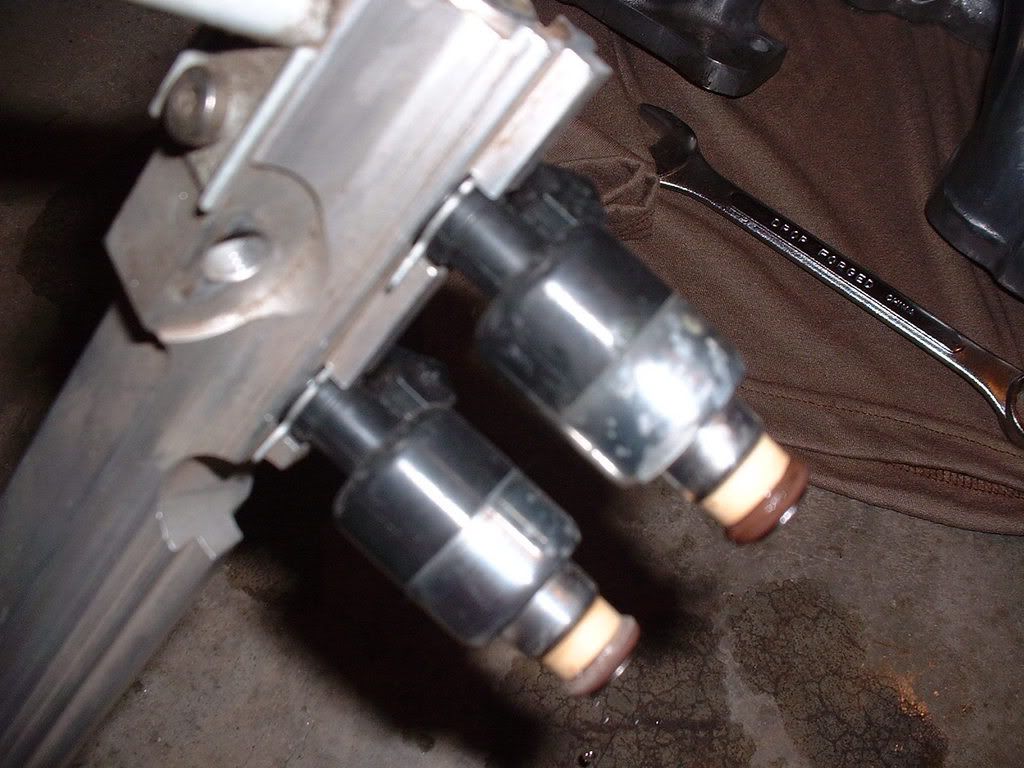
What will tip you off is if the injector is wet and dripping from the pintle like mine. It is the #1 injector with a wet o-ring that shows leaking.
When removing the injector locks, use a flat, hard piece of plastic (such as PVC) in orer to prevent scratching or damaging the rail.
Open the box of new injectors... and then follow the steps in reverse.